1. What you will need
Prior to using the GlazeMe UV polish products, you should also ensure that you have all the necessary items to assist with the removal process which include:
- 100% acetone (which can be purchased individually in our store or with our starter kits)
- Orange sticks (which can be purchased in packs of 10 in our store or with our starter kits)
- Aluminium foil (cut into small 5cm x 10cm squares)
-
Cotton pads or cotton balls (round cotton pads can be cut in half)
2. How to apply UV polish with a LED UV Lamp
View our GlazeMe Application Video here:
Preparation
- Prep and file nails (including cleaning/removing cuticles) for a smooth surface prior to application
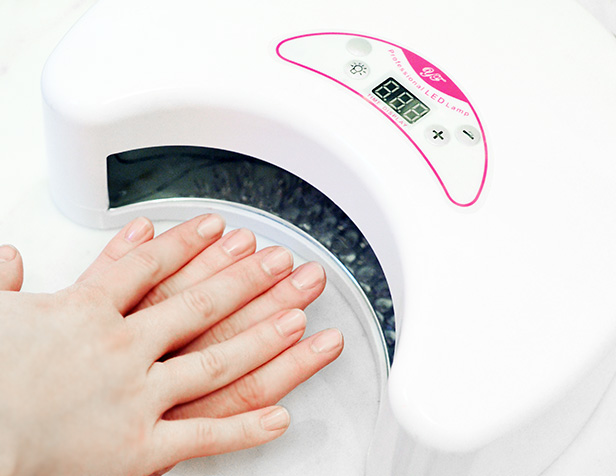
- Set up your LED UV lamp to prepare for the curing process (do not use the light unless curing)
Application process

- Apply a thin layer of the UV base coat evenly on nails and cure in the LED UV lamp for 90 seconds (1.5 minutes)
- Apply a thin and even first coat of UV colour polish and cure in the LED UV lamp for 90 seconds (1.5 minutes)
- Apply a second thin and even coat of UV colour polish and cure in the LED UV lamp for 90 seconds (1.5 minutes)
- Apply a thin even layer of UV top coat and cure in the LED UV lamp for 90 seconds (1.5 minutes)
- Finally, wipe nails carefully with an isopropyl alcohol wipe to remove the sticky residue and to bring out the beautiful high gloss shine.
Using a 3w sized LED UV Lamp
The 3w LED UV Lamp is a compact sized UV LED lamp, perfect for taking when travelling. Due to the small size, for some people it may be best used to cure four fingers at a time, and thumbs separately. Always ensure your fingernails are sitting flat and straight, with the nail directly under the UV light. The curing time for each coat when using the travel lamp is 3 minutes, (or 180 seconds).
French Manicure - Application process
For French Manicure Application Process, please view our newly released instructional video:
3. How to remove the GlazeMe UV polish
View our GlazeMe Removal Video here:
Preparation
- Ensure you have your aluminium foil, cotton pads/balls, orange sticks and pure acetone ready for use.
- Cut out the rectangular shaped pieces of aluminium foil (e.g. 5cm x 10cm) - one for each nail which requires the UV polish removal
- The removal process is best done over a small towel (to prevent acetone dripping onto any surfaces)
Removal process
- Soak a cotton pad/cotton ball with acetone and place directly onto the nail
- Wrap the rectangular shaped aluminium foil around your fingertip and nail and squeeze to form a 'finger cap'. Alternatively you may use pre-made remover wraps such as those used for gel and uv type polishes.
- Leave on for 10-12 mins
- Remove the aluminium from your finger
- Using your orange stick, gently push off any remaining UV polish residue
- Using a dab of the pure acetone on a cotton pad/ball, give each finger a final wipe to remove any remaining residue
Important to note:
- Always store the UV polishes and UV top & base coats in a cool dark place away from sunlight.
- Use only pure 100% acetone for removal. Regular nail polisher remover will not suffice.
- Do not apply the UV polish or expose pre-cured polish (including the nail polish brush) in direct sunlight or UV light. This will prematurely begin the curing process and will cause the polish to harden.
- Always ensure you replace and tightly close the bottles of polish between and during applications (especially in-between curing each coat).
- Any excess polish on the sides of your nails can and should be removed/scraped off prior to curing with the UV lamp using the provided orange stick, an isopropyl alcohol swab, or a cotton tip dipped in 100% acetone).
- * Cuticle oil can be used on a regular basis to help condition your cuticles.


Comment (0)